Project Management
The project management module is designed to help work teams and project managers plan, organize, track, and manage the various stages and resources of a project. It optimizes the management of tasks, deadlines, budgets, and human and material resources, offering a variety of features tailored to each phase of the project. In beCPG, the project module includes:
- Task planning and management : Allows you to define and assign tasks, track their progress, and manage priorities;
- Deadline tracking: Manages deadlines and schedules to ensure project deadlines are met;
- Resource management : Allows you to optimally allocate resources;
- Team collaboration : Facilitates communication between team members with tools for messaging, file sharing, comments, and more.
- Cost tracking : Helps manage budgets and track expenses in real time; a dashboard and reports: Provides project overviews, performance indicators and detailed reports to assess progress and make informed decisions. This module also allows you to create project models representing company workflows. For example:
- Development of a new product;
- Referencing of a raw material, packaging, or trade product;
- Change of packaging;
- Modification of a recipe;
- Modification of the manufacturing plant.
Project
In beCPG PLM, project entity are structured around tasks and deliverables, visualised on a Gantt chart. Project metadata can be found in the “Properties” tab. For each project, there is :
- a document tree ;
- a schedule or back-plan with assigned tasks ;
- the expected deliverables.
Create a project
When a new project is created, a number of elements must be entered to ensure efficient management :
- Template: Select a project template to use a pre-established task plan.
- Project manager: Indicate the person responsible for managing the project.
- Observers : These people will receive e-mail about the progress of the project.
- Entity : Allows you to associate one or more entities with the process.
- Planning mode : Choose between Planning and Retroplanning, depending on the needs of the project :
- Planning: This is a calendar detailing the tasks to be completed in chronological order. Each task is scheduled for a specific date, and its progress can have an impact on subsequent tasks. In beCPG PLM, when a task is completed, the schedule is automatically recalculated to adapt to new constraints without disrupting future participants.
- Retroplanning: Unlike traditional planning, retroplanning starts from the final deadline and works backwards to define the intermediate stages. In this way, the end of the project remains fixed, and the dates of the tasks are adjusted according to this constraint. In beCPG PLM, retroplanning guarantees that the final deadline will not be modified, even if adjustments are made during the project.
This choice of planning method allows flexible management adapted to the specific needs of each project.
Tasks
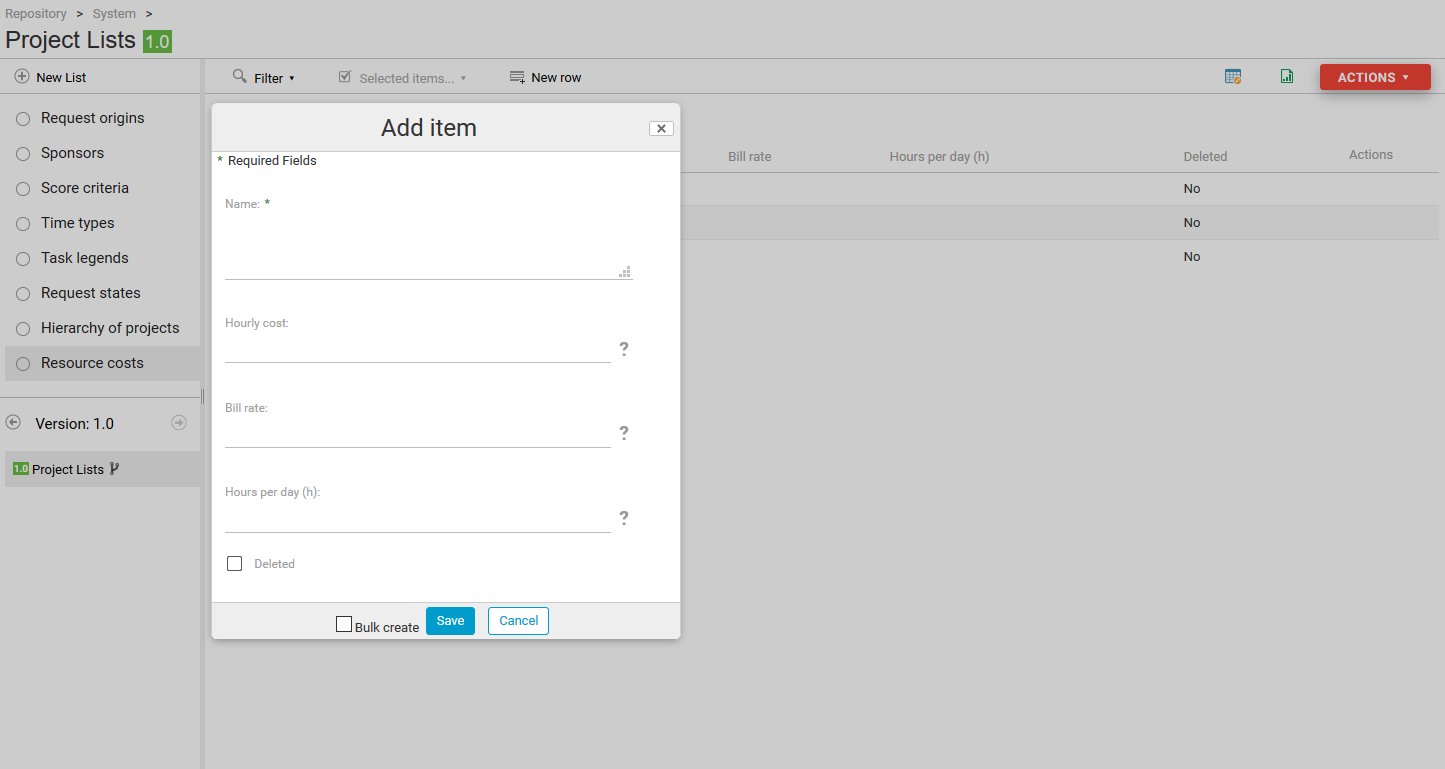
Tasks tab shows the entire process, with the times allocated to each task and the players involved. The colors appearing on the different tasks correspond to the captions, which are managed in beCPG administration.
Tasks are generally organised in parent tasks according to the order in which they are executed. In general, the order of the tasks depends on the order of entry, but it is possible to change the order of the tasks using the up or the down buttons in the multiple selection.
When creating a task, several fields are available :
DESIGNATION TAB
- Previous tasks: Allows you to see which tasks open when a previous task is closed. Several tasks can be open simultaneously when a task is closed ;
- Parent task : Visual marker for grouping tasks. The fold and unfolded function of parent task makes it easier to read projects with a large number of tasks ;
- Reopened task on refused: If the task being created in rejected, indicate in this field the task from which the workflow will resume ;
- Tasks to reopen in case of refusal : If the task being created is rejected, then indicate in this field which specific task(s) should be opened so that the workflow does not have to be repeated. The tasks indicated in this field must be attached to this task.
- Sub-project : ‘Sub project’ is used to link a project as a sub-project to the current project. There are two ways of linking two projects :
- A sub-project can be linked to a parent project using this field.

- The planning button shown below in Tasks tab can be used to create a sub-project directly within the project task.
Sub-projects allow specific tasks to be grouped together. For example, in a product development project, a sub-project such as ‘Development of new packaging’ facilitates the integration of processes. To list all the sub-projects in a project, it is possible to add where-used listes to show the sub-projects parent projects.
RESOURCES TAB
- Resources : Designates the users responsible for running the project.
- A single assigned person: opens and closes the task.
- Several people assigned : Only one person can carry out this task. It is possible to assign responsibility to yourself as soon as you receive it, which will remove the other resources and prevent parallel execution. Otherwise, the first person to perform it will complete the task.
- A group containing several users: this works in the same way as for several people assigned individually.
- Observers: Refers to people who receive e-mail notifications about the progress of the task. The ‘Notifications by email’ field is used to specify the conditions under which alerts are sent. Unlike the users entered in the project properties, these observers are specific to this task.
- Workflow name: Defines the type of workflow. There are 2 types of workflow: Adhoc (simple task), Create New Product.
When a task consists of creating a new product, it is possible to select a product feature on an existing product, packaging or recipe. At the end of this task, you have two options :
- Create the new product : this action generates a new product based on the element selected. The task is not automatically validated, so you can return to it if necessary. Once the product has been created, you can be redirected to its page to continue configuring it.
- Task done : Validate the task and move on to the next one.
PLANNING TAB
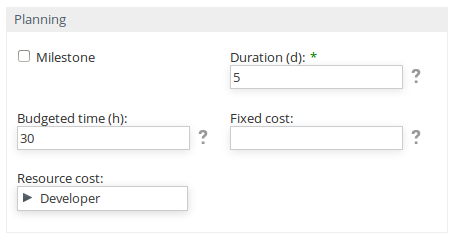
The Milestone is used to display a marker in the task view to indicate the end of an important stage. It corresponds to a validation and often has no duration. Duration : Correspond to working days. This field calculates the start and the end dates of tasks on a project-by-project basis. Manual date : Manually defines the start or end date. Choose the calculation mode (start or end) then override the date calculated by beCPG.
NOTIFICATION TAB
It is possible to configure reminders and their frequency. If users are to be reminded before the end of the date, enter a negative number in the ‘First frequency (days)’ field. For example :
- -1 sends a notification one day before ;
- 0 sends a notification on day D ;
- 1 sends a notification one day after.
Users notified : Used to notify people other than the task resources. If the field is left blank, no-one will receive a notification.
Deliverables
The Deliverables tab lets you associate files with tasks. There are many choices :
- Checkbox ;
- External link;
- Documents ;
- Wizard ;
- Script.
For document, script and wizard deliverables, the option is added to the project template. Documentation is available here.
Checkbox deliverable
Checkboxes represent a simple to-do list in text format. You can use the “% Completion” field on the deliverable to quantify the overall progress of the task, as the boxes are ticked. This enables you to monitor your project indicators more accurately.
Create a project template
In beCPG, it is possible to create a one-off project without using a template, an approach suited to one-off projects. However, to avoid systematically recreating the same structure, projects are generally based on a predefined template. The use of a template is particularly useful for recurring projects, such as product validation. A project template is used to define a structure comprising a number of tasks and deliverables, which are automatically copied when a new project based on the template is created. However, any changes made to the template will not affect projects already created, but will only apply to future projects using the updated template. Project templates can be managed and created via beCPG administration. Documentation is available here.
Creating a project in beCPG
In the beCPG standard, a project can be linked to an entity or not. If the project is linked to an entity, it can be launched directly on the entity. If the project is not yet linked to an entity, it is advisable to create the project as an entity and then attach the entity.
Launching the project
From an entity
A process can be started from the model or directly on an entity, by clicking on Actions > Start a process.

Via the creation button
Another way of starting a process is to create a new project. From a site, selectCreate > Project. In the creation form, fill in the entities linked to the project if necessary and, if applicable, associate a project template.
View tasks
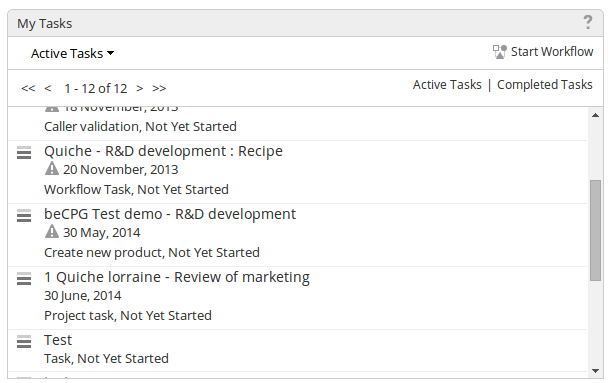
Tasks assigned to you are visible on the PLM home page.
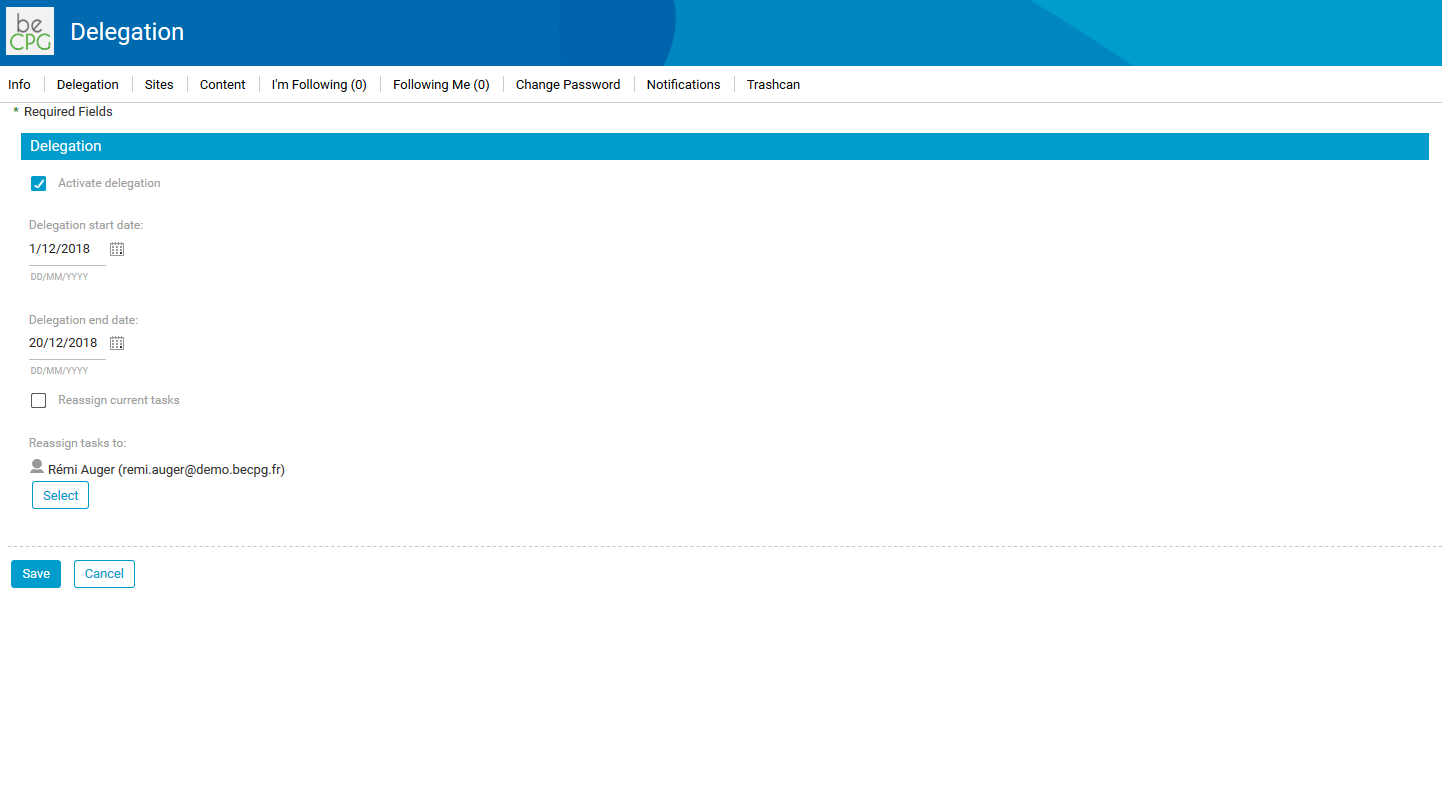
Notification is also received by email. All the tasks assigned to the user are visible in Tasks > My Tasks tab.
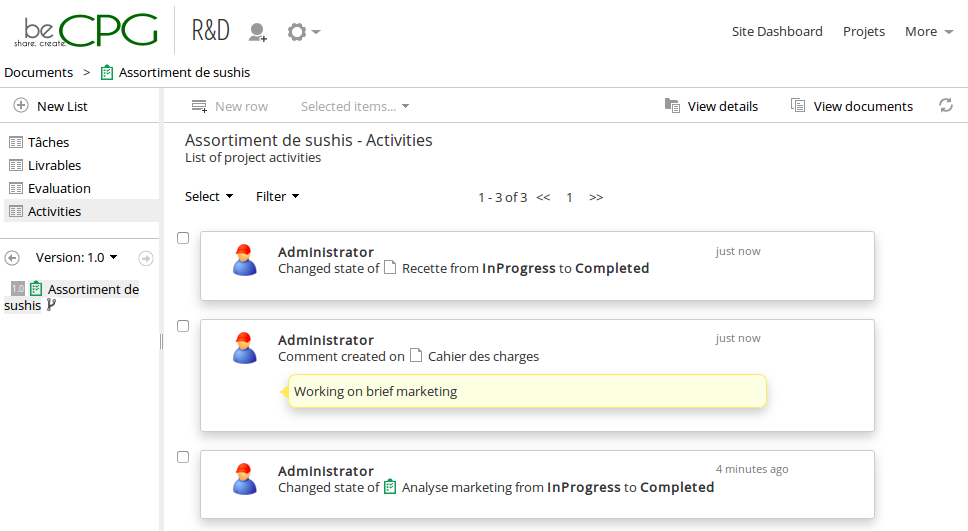
Complete tasks
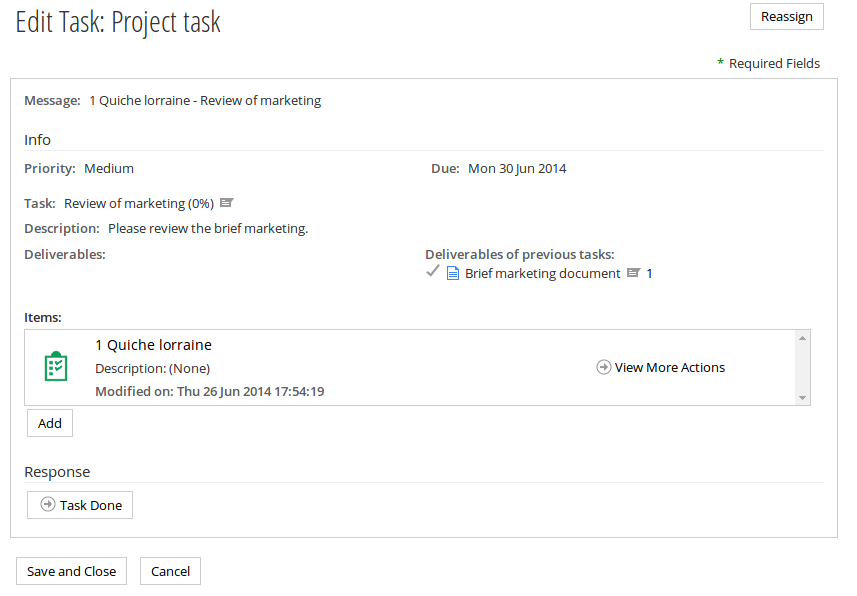
Once you have clicked on the task, a page opens and a number of items of information are displayed (deadline for current task, priority, etc..). In the ‘Items’ section, a link to the project and the entity is available.
Once the task has been completed, you can write a comment that will be associated with the task. Comments provide the various resources with a history of the project. Comments can be viewed in the task notification email, on the task opening or in the Task tab of the project. To validate the task, click on ‘Task done’.
Note that the ‘Save and Close’ button only saves what has been done on the task (e.g. entering comments), but does not validate it.
Refuse task
You can also refuse a task. This is not a default option. This button only appears if the field ‘Reopened task on refused’ or ‘Tasks to reopen in case of refusal’ were filled in when the task was created.
Reassign the task
By clicking on Reassign, you can delegate the task to another person.

Note : This feature is useful if you make a mistake when entering resources on the task.
Monitoring the progress of a project
Monitoring is carried out from the "Tasks" tab, which has been designed to provide a clear overview of progress :
- Smooth chronology : the arrows between tasks make it easy to follow their sequence.
- Dynamic icons : the logo for each task changes according to its status (sun, cloud, storm, etc.
- Additional details : by clicking on the "Informations" icon (see box in image below), a detailed overview is displayed, including any delays to the project, the percentages of work completed, open and overdue, and the list of milestones and upcoming tasks.

This view provides efficient management of the project and its deadlines. If the ‘Project manager’ and ‘Observers’ fields are filled in, the people assigned to these fields will receive e-mail notifications of the project's progress. Monitoring can also be carried out in the Project list.
Project list
Projects can be tracked via beCPG > Project list.

This view provides an overview of current and planned projects and more. The state and status of the project are immediately identifiable thanks to visual indicators, such as:
- Sun: the project is on schedule;
- Rain: there is a delay;
- Wheel: the project is underway;
- Check: the project is complete.
The current task is easily visible, as are the key dates under the project name. Project properties can be modified from this interface.
To access more detailed visual information, click on the ‘Informations’ icon.

Simple view
Display the different projects (in progress, cancelled, completed, etc…) with the status of the project, the task(s) in progress, the associated comments and the entities linked to the project.

Detailed view
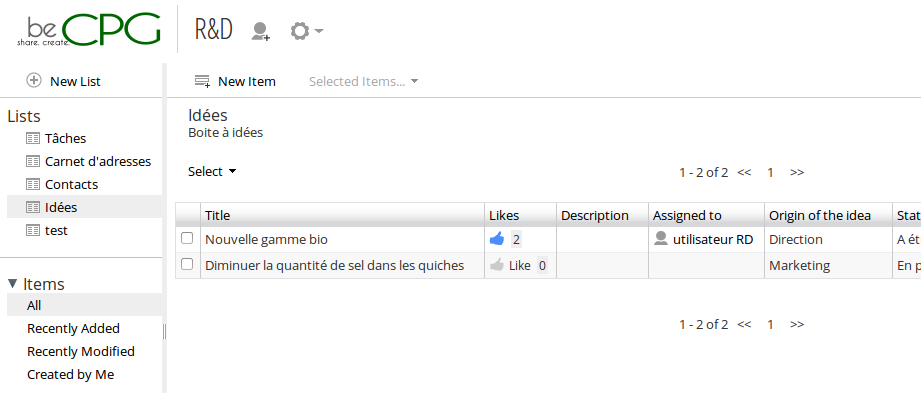
List of projects in Gantt format
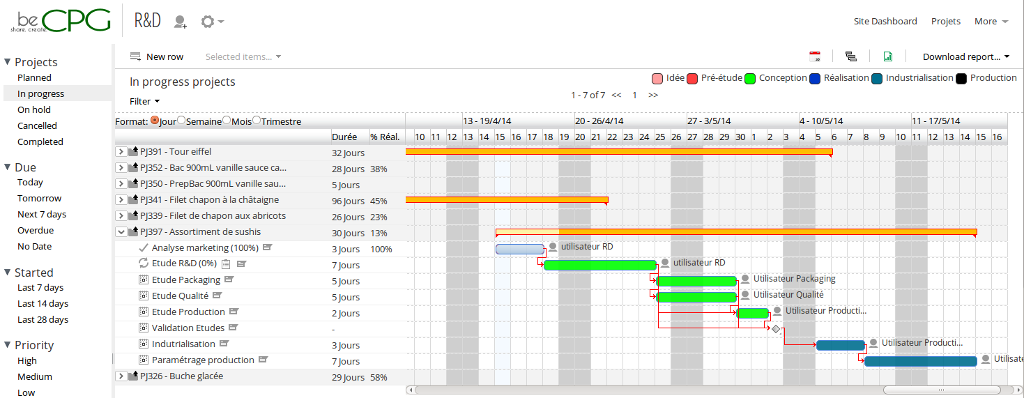
The Gantt chart is a project management tool that shows all the tasks involved in a project from start to finish. This diagram provides a clear view of project tasks, their dependencies and the people involved. This view provides a visual representation of the progress of project tasks. Important stages are marked by milestones.

Tasks list (simple and by resource)
This view is used specifically to display project tasks. It provides information about the people or group responsible for carrying out the task, its duration and its deadline. Tasks can be filtered by their status (completed, cancelled, etc.) or by their caption.
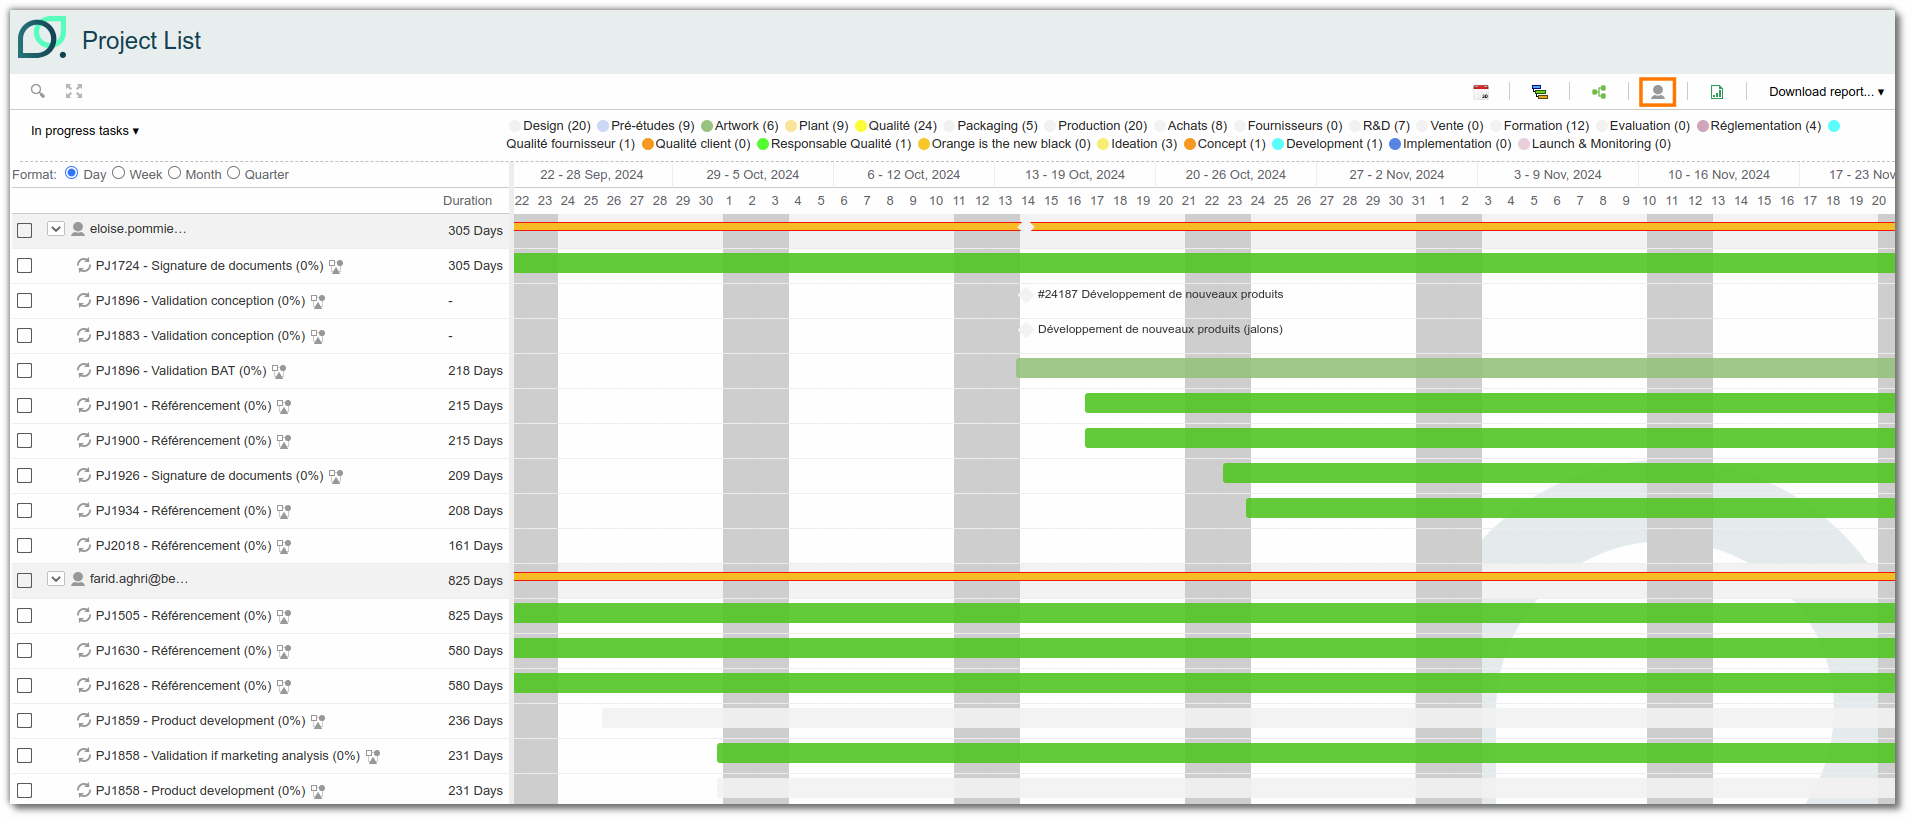
Filter information
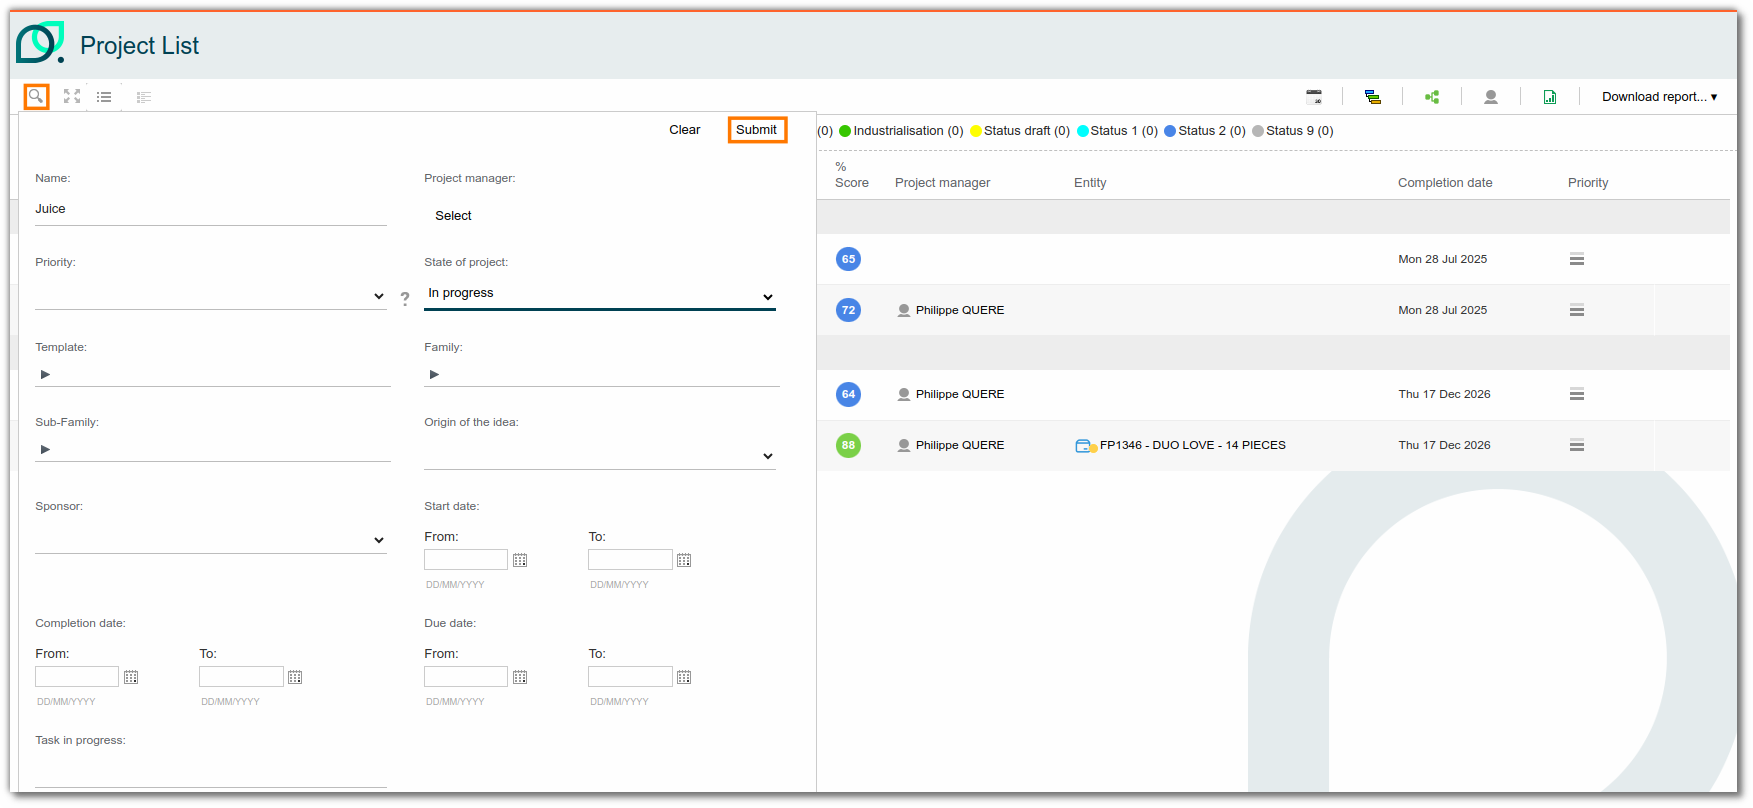
Filters are used to specify the information you wish to view. Filters can be added together. This filtering is done by clicking on the magnifying glass icon.
Bulk edit

By ticking projects or tasks, you can edit the fields in the project properties.
For example, you can quickly change the project manager and observers by ticking these two fields and entering the desired resources.
Export informations
All lists in beCPG include the option of generating an Excel report. Data can also be exported from projects.

The advanced search allows you to display all the projects or to filter according to specific criteria. Customized exports can be configured as required. See online documentation.